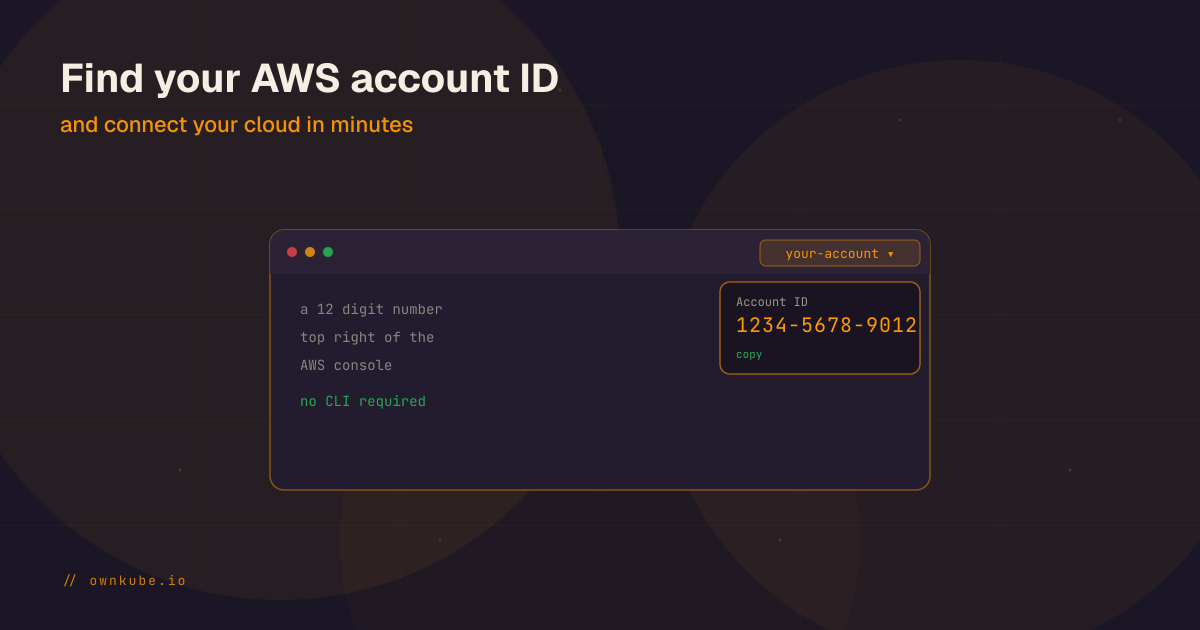
Your AWS account ID is a 12 digit number, something like 1234-5678-9012. To find it: sign in to the AWS console, click your name in the top right corner, and read the number at the top of the menu that opens. No command line required.
Find it in the console
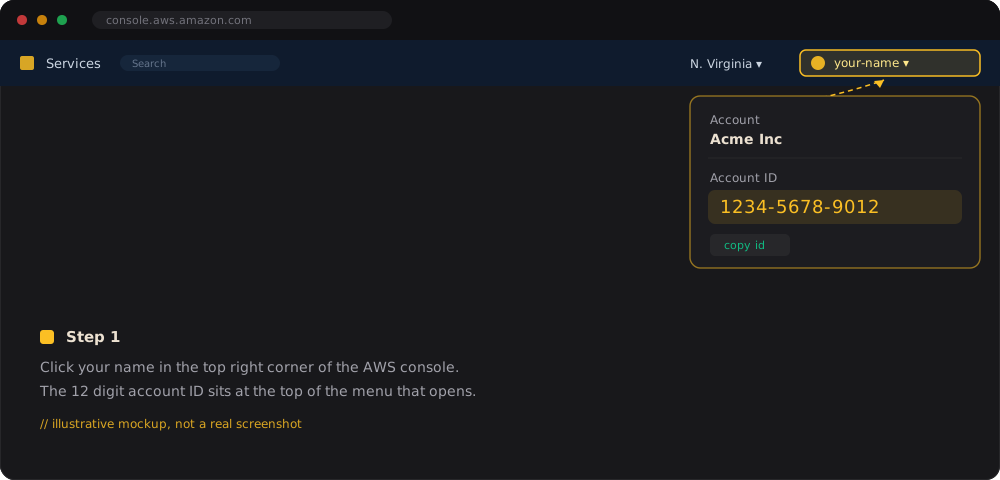
- Go to console.aws.amazon.com and sign in.
- Click your name in the top right corner. A menu drops down.
- The Account ID sits at the top of that menu, with a copy button next to it.
A few things worth knowing:
- It is always 12 digits. AWS shows it with dashes (
1234-5678-9012) or without (123456789012). Same number. - It is not a secret. AWS does not treat account IDs as sensitive, so you can paste yours into a setup form without rotating anything.
- It does not change, and it is the same for everyone in the account.
If you do not see it (you might be signed in as an IAM user), open the search bar, type IAM, and the account ID shows on the IAM dashboard too. If you have more than one account, the number always reflects the one you are currently signed in to, so check the account name next to it.
Connecting to Ownkube (you do not type it in)
Here is the part that surprises people: Ownkube never asks you to paste your account ID. The connection is zero-input. You start it from Ownkube, approve a setup page in your own AWS account, and Ownkube detects the account automatically. Knowing your account ID is still handy for confirming you are connecting the right one, but you will not type it anywhere.
The whole flow takes about two minutes and never touches a terminal.
- Start the connection in Ownkube. There is nothing to fill in, no account ID and no region picker. Ownkube opens a CloudFormation setup page in your own AWS account in a new tab.
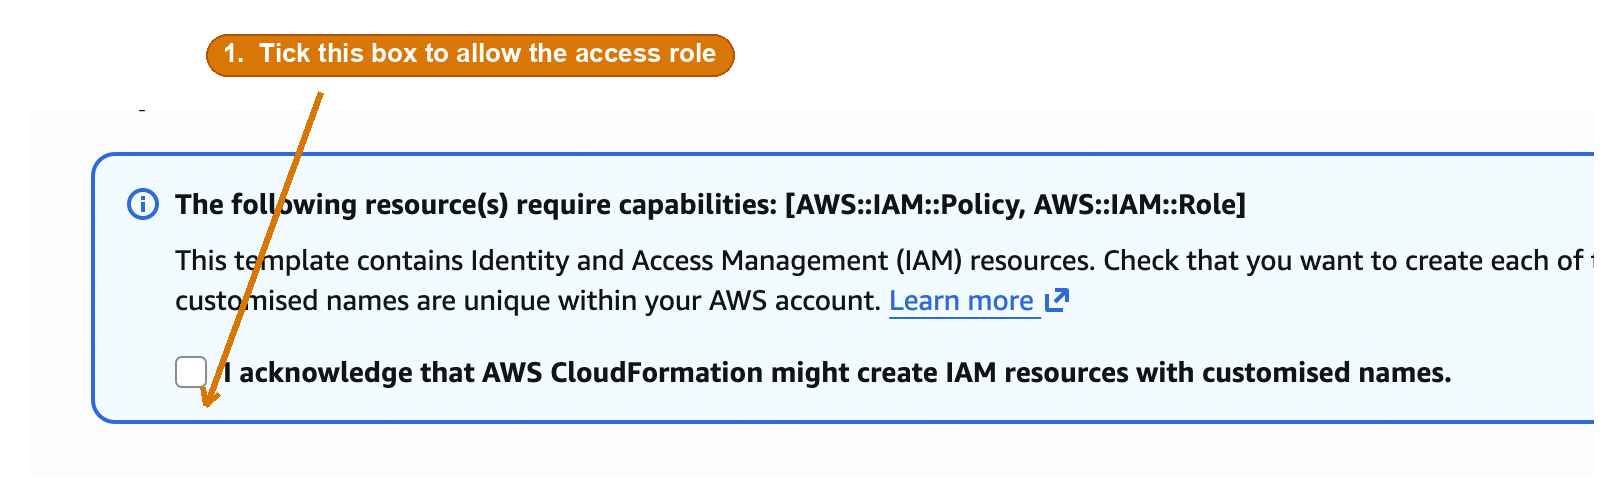
- Approve the grant in AWS. That page creates a scoped role that lets Ownkube manage resources inside your account, on your behalf. There are only two things to do on it.
First, tick the box that lets the template create the access role:
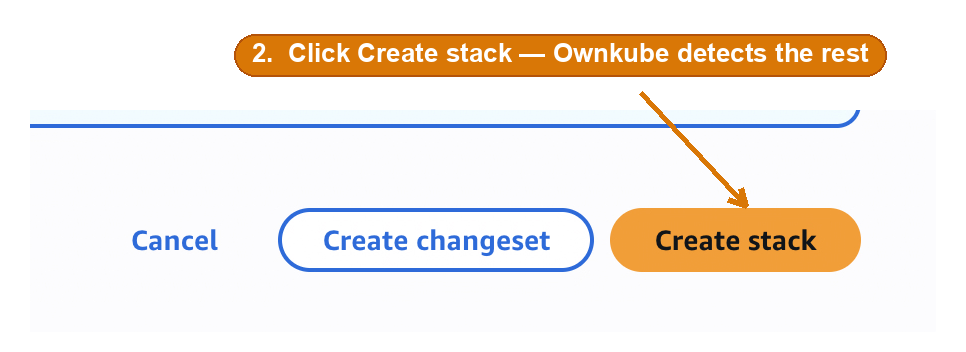
Then click Create stack. That is the last click on your side:
- Leave the rest to Ownkube. It detects the account the moment the stack finishes and verifies the connection, then you are ready to create your first cluster. You can revoke access anytime by deleting the stack from AWS.
The key point: Ownkube runs in your AWS account, not ours. You pay AWS directly at wholesale rates, and your data and infrastructure stay under your control.
Related reading
- Move the same app into your own AWS account
- A Heroku alternative in your own AWS account
- Migrate from Railway to your own AWS account
If you want to deploy something without standing up a platform team first, that is what Ownkube is built for. Start free on a single-node cluster and scale up when you are ready. See Ownkube pricing for the per-minute wallet model, from $5 a month. Deploy your first app.

// written by
Abhishek Jaiswal · Founder and EngineerAbhishek Jaiswal is the founder and engineer behind Ownkube, a cloud for personal software. He builds the platform and writes here about cloud cost, migrations, and running production infrastructure in your own AWS account without a DevOps team.